
In the dynamic landscape of SAP development, deploying Fiori applications using the Reuse-Adapt-Repeat (RAP) methodology has become a cornerstone for creating responsive and efficient user experiences. In this blog post, we'll guide you through the process of deploying a Fiori Elements app and seamlessly integrating it into the Fiori Launchpad.
Steps to deploy SAP Fiori Elements (RAP) app
Step 1: Set the Stage
Begin by publishing your RAP-based Fiori Elements app in Eclipse. Once done, transition to SAP Business Application Studio (BAS) or Visual Studio Code (VSCode) for the subsequent steps.
Step 2: Create a Fiori Application Project
Initiate a new project using templates in SAP BAS or VSCode, selecting the SAP Fiori Application template.
Step 3: Choose List Report
Opt for the List Report template, setting the foundation for your Fiori Elements app.
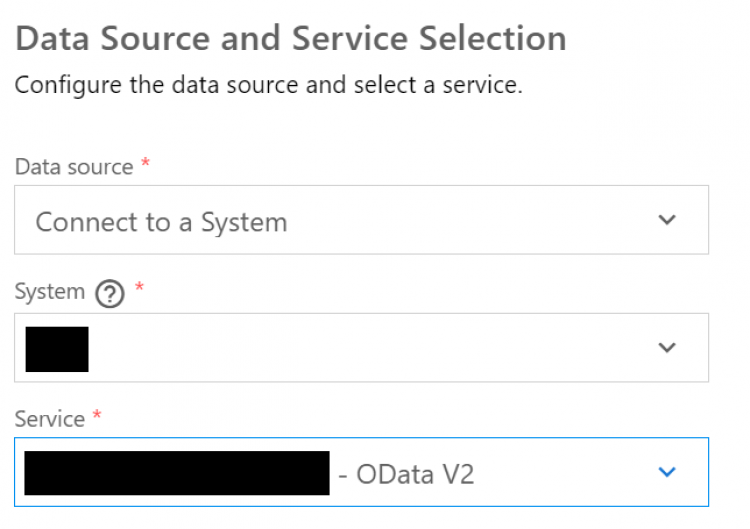
Step 4: Configure Data Source
Connect your app to a system by choosing the appropriate SAP system and service binding name set in Eclipse.
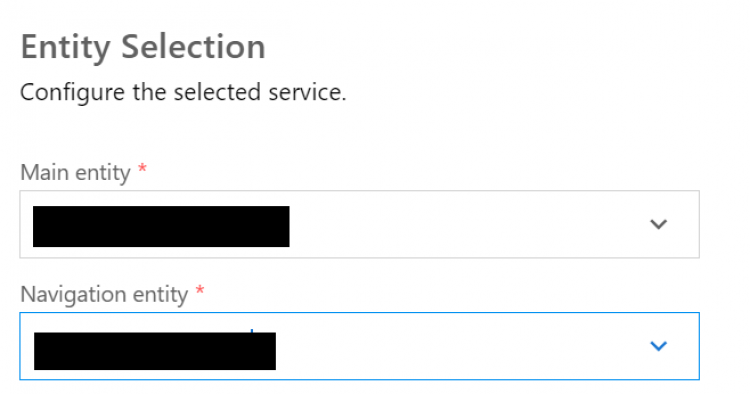
Step 5: Entity Selection
Specify the root or master entity for your List Report app and select any child entities for navigation.
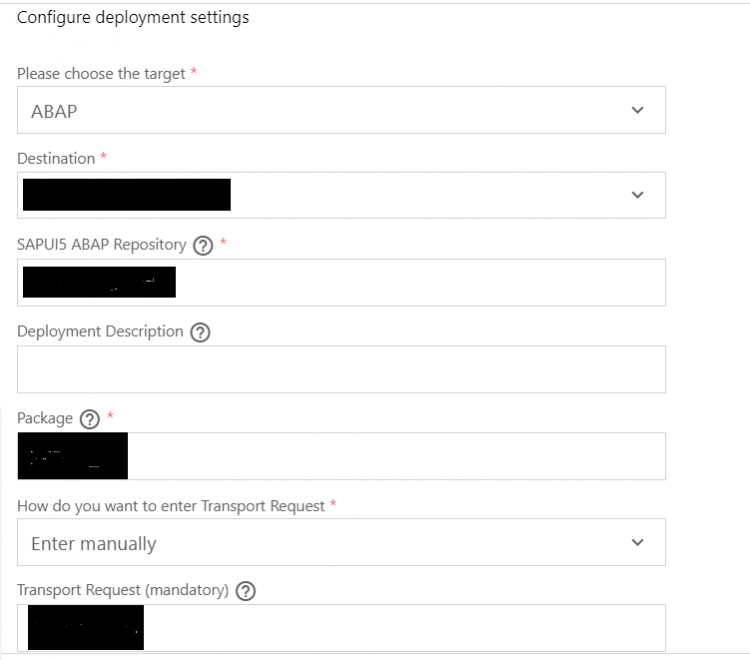
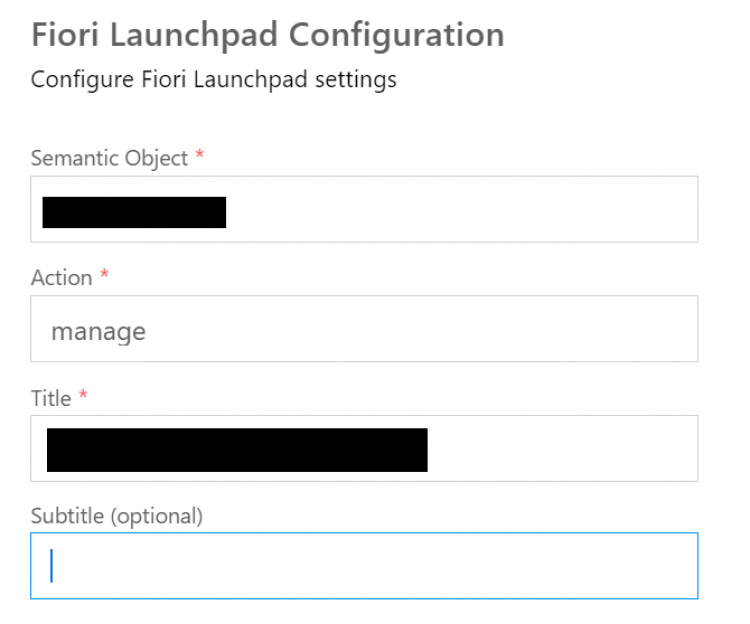
Step 6: Deployment Configuration
Add module details and check true for 'Configure deployment Settings' and 'Fiori Launchpad Settings', ensuring to include Fiori Launchpad details if needed. Add deployment configuration details where the SAPUI5 ABAP Repository is the name of BSP application that will be created and can be accessed from the T-code: SE80. Add Fiori Launchpad settings with a Semantic Object and action.
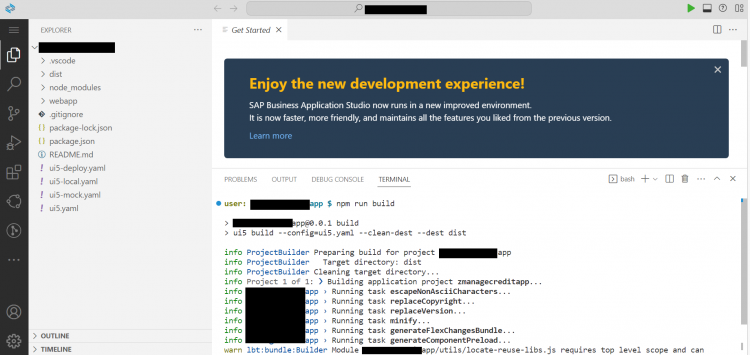
Step 7: Build and Deploy
Run the necessary commands in the terminal to build and deploy your Fiori Elements app.
npm run build : To build app
npm run deploy-config : To make sure the configuration details are entered correct
npm run deploy : To deploy app
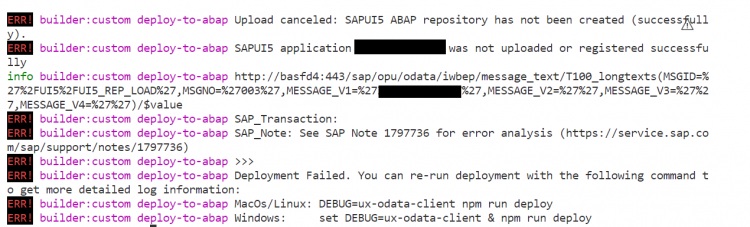
Step 8: Troubleshooting Deployment
Handle potential deployment errors by checking package, transport request (TR), and app name details. For status code 400, the possible errors could be due to wrong package, TR or name of the app to deploy. When it throws error during deployment -
- If BSP app name doesn’t start with Y or Z
- If package/TR entered in ui5-deploy.yaml is incorrect
- If package is under software component other than HOME (related to cloud development) and deployed app is generating web dynpro components which are not supported for ABAP language version – “ABAP for Cloud Development”.
Step 9: Fiori Launchpad Integration
Once deployed without any errors, you can access the deployed app through SE80 and proceed to the Fiori Launchpad for further process.
Step 10: Fiori Launchpad Designer
Open the Launchpad Designer app in Fiori Launchpad, where you can set up tiles and target mappings. Select transport request from the right top cog icon and then from left portion of the app, create a new catalog or choose an existing custom catalog you have created before.
Step 11: Semantic Object Creation
Create a semantic object using SAP Help or use an existing one because you will need it for configuration of Tiles and Target mapping.
Step 12: Tile Creation
Build a tile using your custom semantic object, ensuring consistency with the target mapping.
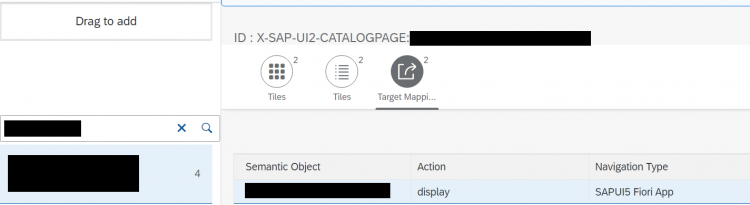
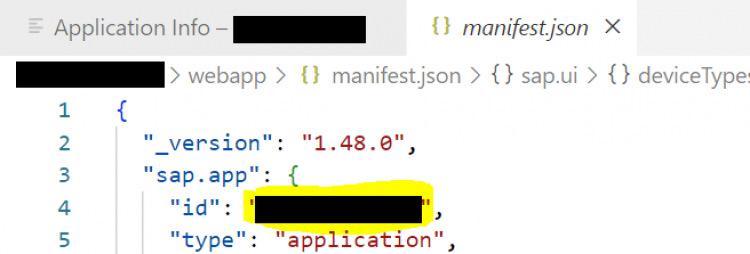
Step 13: Target Mapping Configuration
Configure the target mapping in Fiori Launchpad Designer with the created semantic object. For the target mapping, you must remember to enter relative URL path taken you can get from t-code /IWFND/GW_CLIENT and the ID must be the same as you find in manifest.json file in SAP BAS or VSCode.

Step 14: Catalog Assignment
Assign the custom catalog to a role from T-code: PFCG and assign that role to you using T-code: SU01.
Step 15: Enjoy the Results
Once these steps are completed, revel in the seamless integration of your Fiori Elements app within the Fiori Launchpad, offering an enhanced user experience and accessibility.
By following these steps meticulously, you pave the way for a smooth deployment process and a well-integrated Fiori application in your SAP environment. Let's delve into each step in detail to empower you in mastering the art of deploying Fiori Elements apps with RAP methodology.